Project 2 Parametric Modeling Design
Mission In this project, I’d like to focus on the parametric facade, which is related to my studio project. I wanna create a triangular pattern by using weavebird’s sierpinski node, as well as some controllable open triangle shading devices, inspired by an example shared on the grasshopper website.
Here is the rendering image of the facade.

Project Background

The site locates in the Museum District in the center of Houston. My project values the conversation between MFA, churchs and mine. Thus, after site analysis, triangular form is designed to be the main element

For the main exhibition hall, to the northwest , pieces of triangular metal panels are imagined to be the shading facade.
Parametric Facade
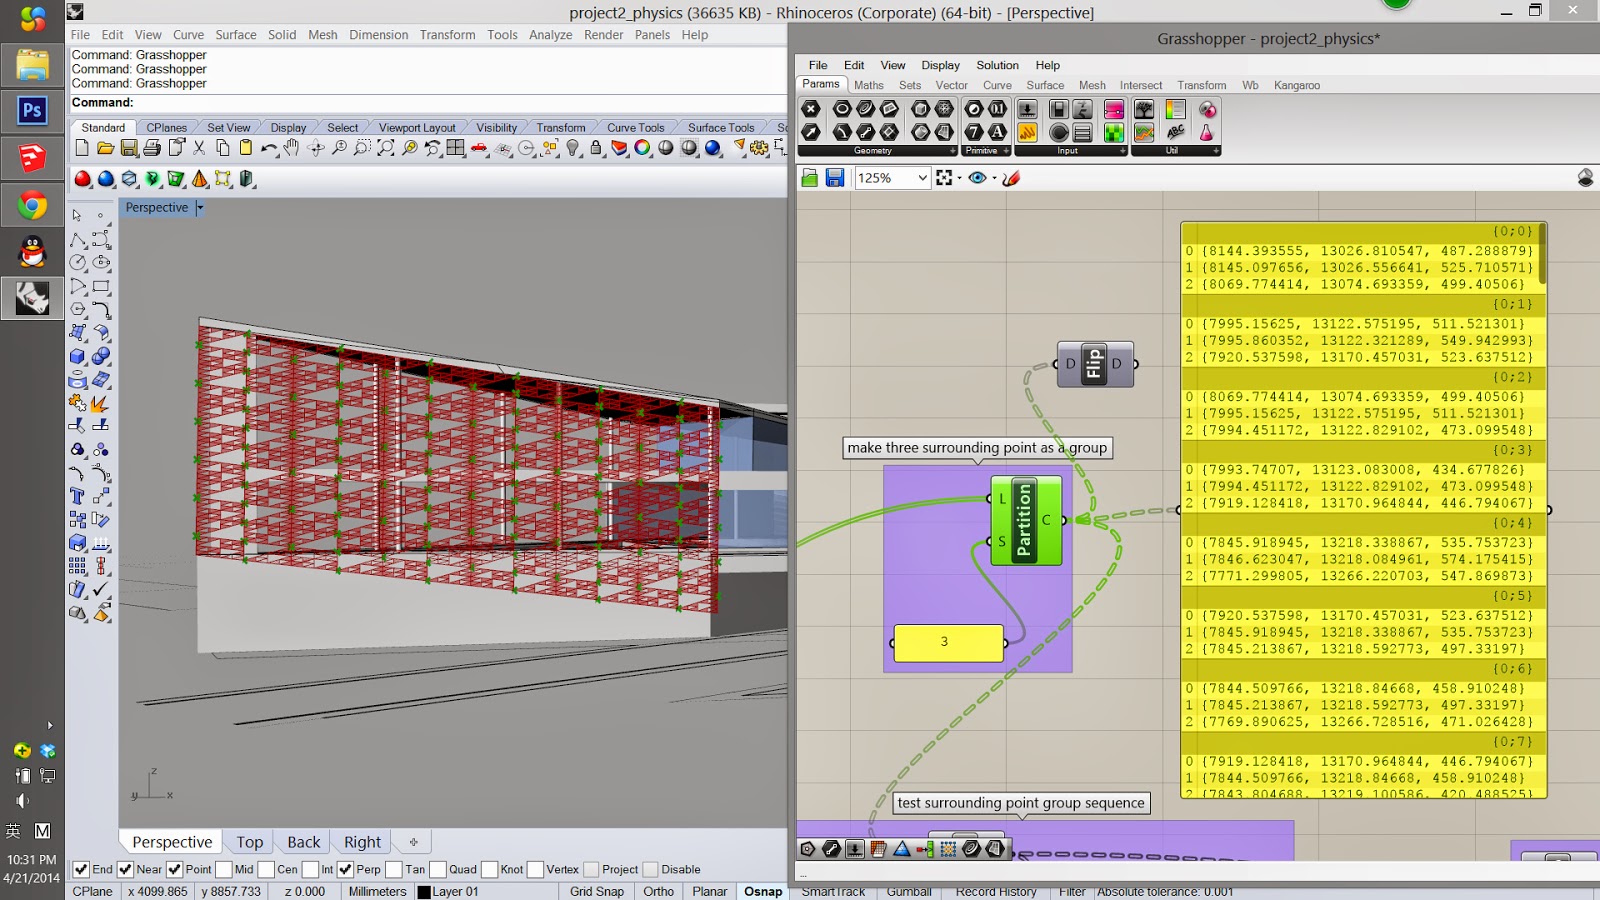
Let's see how the facade works in GH.
Step 1
Import SK model into Rhino and use wbedges to extract the mesh edge to tell the boundary of the facade

Step 2
Define and draw the boundary of the facade. As the trapezoid can't be made up by repeated triangles, boundary is drew as parallelogram for shaping similar triangle patterns later.

Step 3
Create sierpinski pattern for the facade. Use wbsierpinski node as well as wbtriangles to subdivide the surface into several sierpinski triangles.

Step 4
Pipe the structure

Step 5
Create the shading device. Certain large triangular opening is designed to attach a controllable shading device. Get the corner points of each triangle.

Step 6
Group every three corner points
Step 7
Get the central point of each triangle that need to attach the shading device
Pick out one typical triangle and create a vector perpendicular to it as the translation for the central points

Step 8
Extrude three triangle sides into the moved central point to separately form three fins of the device

Step 9
Rotate the fins by control the rotating angle

Step 10
Extrude pattern mesh and cap to form a closed brep as the metal panel

Step 11
Create another brep to cut the exceeded panel

Bake the GH model at the end. Here we are!


No comments:
Post a Comment